
Voice Platform - Smart PBX - Advanced Provionser - Users
This guide will walk you through configuring devices for use with the Advanced Provisioner app.
Login to Voice Platform (http://dashboard.hostedphone.co/)
Once logged in, click Apps located at the top right of the page

Within the Apps selection, choose Smart PBX

From the Smart PBX Dashboard, click on the Users tab
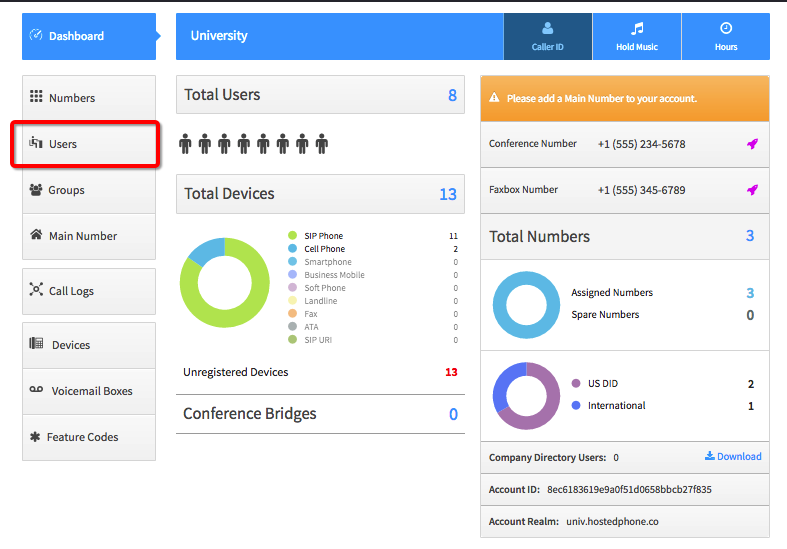
Locate the User ensure their device is added.

Add a New Device to the User.
(To see the steps for adding a new device Click Here)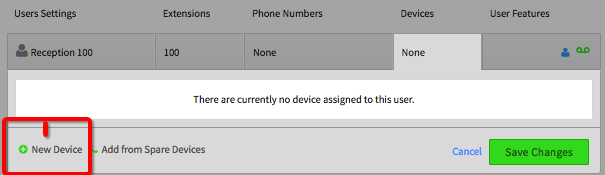
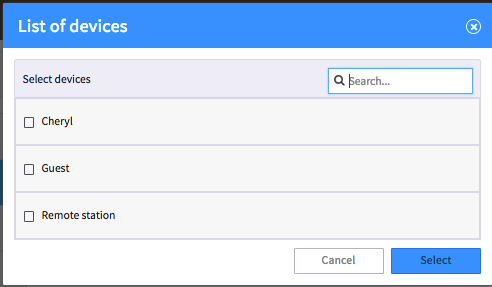
If your device already has been added to your account, select Add from Spare Devices, and Select the device to be added to the User.
Your device will now be available to use in the Advanced Provisioner App. Select Apps.

Choose Advanced Provisioner app.
Find the device you'd like to provision from the list.
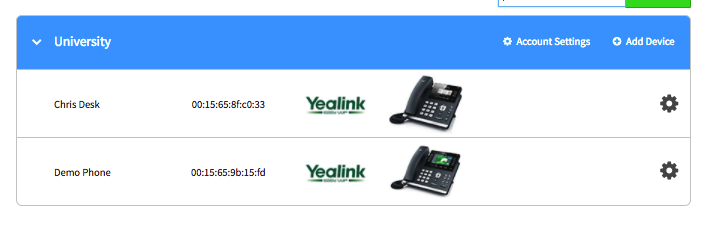
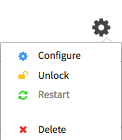
Select the Gear.

Choose Configure.
Under SIP settings, make sure the SIP Realm and Primary Address reflect your Voice Platform domain. i.e. companyname.hostedphone.co
In the Primary Port field, enter 5060 or 7000
At the bottom of the page, press Save.
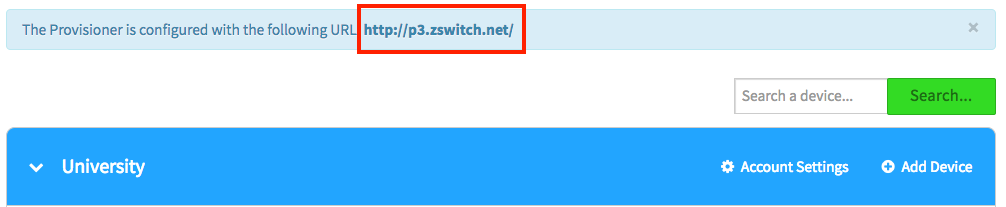
The device is now ready to be provisioned using the URL listed at the top of the Advanced Provisioner.
For instructions on how to Auto-Provision your Yealink, Polycom, Obihai, Grandstream, or Cisco device, refer to your manufacturer's configuration guide. Contact our Customer Support team for any additional help at 1-844-4-Simple.